5-Minute Letter Holder / Journal Envelope Insert
- meetthemeese

- Oct 11, 2022
- 3 min read
Updated: Oct 10, 2023
Here's a tutorial for an easy DIY 1-sheet envelope that you can use as a letter or postcard holder, or even as a journal envelope / journaling insert. It's versatile and can be scaled to many different sizes. And the best part is, you can make it in just a few minutes!

The Materials
You'll need:
1 square(d) sheet of moderately thick and flexible paper, scissors and glue.

You can use double-sided patterned paper, or use a single-side patterned one and decorate the plain side in any way you want (the plain side will be the inside face of the envelope). It is important that the paper you choose is stiff enough that it will hold its shape (like cardstock), but not so thick that it starts to crease and tear at the folds. I've used a 180-ish GSM 6 in. x 6 in. craft paper.
The Steps
Step 1.
Decide how wide you'd like the letter holder to be and fold the sheet of paper at that point. Take care to crease lightly for now, especially if the paper you're using tends to wear away if pressed too hard at the creases.

A good rule of thumb is to fold the paper a little less than halfway, but more than 1/3rd of the way.
Step 2.
Next, mark a wavy line on the excess side (i.e., the left side) as shown in the picture (or just cut away on the dotted line free-hand). It doesn't really have to be wavy, but it minimises paper wastage that could occur from trimming and blunting the pocket edge later on, and more importantly, I just like it wavy! Cut along the wavy line and the adjacent crease line, as shown below.

I've marked the crease in a faint dotted line for reference. The bigger, uncut side to the right is the main body of the envelope.
Step 3.
Set aside the small cutaway for now and let's work on the larger piece.
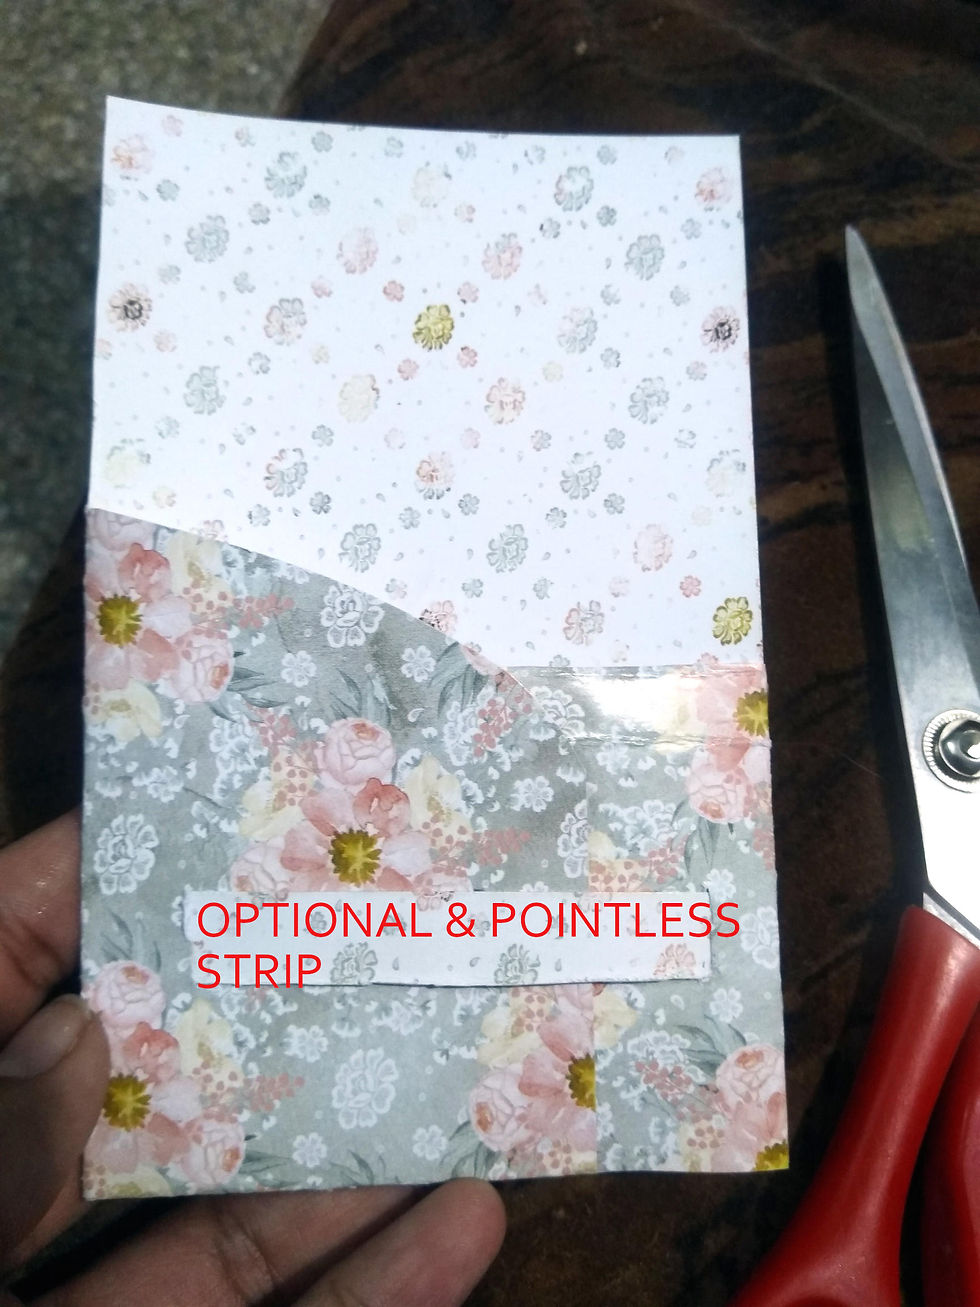
Fold the bottom edge up by 1 to 1.5cm (stiffer the paper, better it is to fold up a larger amount) and press tightly.
Then unfold and cut away this strip only below the body of the envelope.
Note that the fainter line in the picture below is the crease, marked for reference.

You'll be left with the strip just below the left flap, like so.

Step 4.
Now fold the left strip up, fold the left side/flap over to the main body along our first crease, line up the bottom edges and glue the strip on to the main body.

We now have the main pocket constructed. All we need to do is attach the flap (of course, you could also stop here and use it as an L-shaped holder).
Step 5.
Take the small cutaway piece from earlier, and fold it along the shorter edge. Make sure the fold is at least 1cm from the piece's edge.

Step 6.
Now glue the cutaway on its folded edge to the main envelope body's free edge (if you've been following this tutorial exactly, that's the right edge).

Step 7.
And we're almost done! All that's left is to insert the cutaway flap into the envelope pocket, and we have a nice little folder to hold things in place.

Final Step - Decorating The Holder + a few notes
We're finished constructing it! This is what it looks like finally.
Now we can go ahead and decorate it in any way we want. You could try using washi tapes, stickers, hand-drawn doodles. You could round the top corners of the main envelope body, shape it in different ways, or even turn this into a journal tag (want to see how to make mini-tags with this process? Watch this space for the upcoming tutorial!).

I'm using this in my journal as a clip-on insert, and have an older, larger one made out of 10in. x 10in. paper that I use for keeping a few of my favourite postcards!.

The bigger one I'd made with single-sided paper, and simply decorated the plain side with straight lines of washi and paper tapes (I'd also made the flap the pocket, and the pocket the flap, if you can catch that ;D)

If you like this idea, do keep an eye out for my next post on how to make smaller journaling tag versions of these!
Happy crafting!
- Meese


Comments